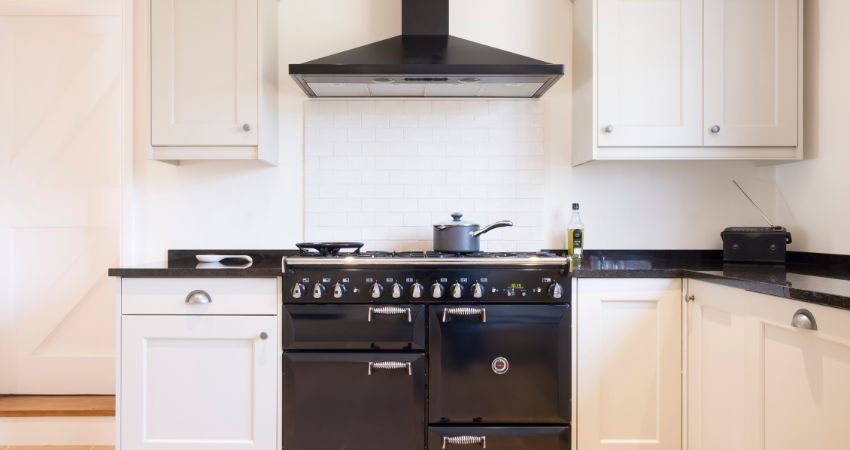
If you’re looking to give your kitchen a fresh and budget-friendly makeover, painting your kitchen cabinets can be a transformative DIY project. Whether you want to update the color, refresh worn-out cabinets, or create a new look, this guide will take you through the steps to paint your kitchen cabinets like a pro.
Preparing Your Kitchen and Cabinets
Before you pick up a paintbrush, it’s crucial to prepare your kitchen and cabinets properly.
Clear Out and Clean
Empty your cabinets, removing all items inside. Clean the cabinet surfaces thoroughly to remove grease, dirt, and grime. A mixture of water and mild detergent works well for this.
Remove Cabinet Hardware
Take off all cabinet hardware, including knobs, handles, and hinges. This step ensures that you can paint every surface evenly and achieve a professional finish.
Label Everything
To avoid confusion during reassembly, label each cabinet door and its corresponding hardware. Use masking tape or removable labels to mark the backs of the doors and the hardware.
Sanding and Priming
Proper surface preparation is key to a successful cabinet painting project.
Sand the Cabinets
Using a fine-grit sandpaper (usually 120-150 grit), lightly sand the cabinet surfaces. This step helps the paint adhere better and ensures a smooth finish. Remember to sand along the grain of the wood.
Fill Imperfections
If you have any dents, dings, or holes in your cabinets, fill them with wood filler and sand the patched areas once they are dry.
Apply Primer
Apply a high-quality primer designed for kitchen cabinets. Primer provides a solid base for the paint and prevents wood stains from bleeding through. Allow the primer to dry completely before moving on.
Painting Your Kitchen Cabinets
Now it’s time to paint and transform your cabinets.
Choose the Right Paint
Select a durable paint finish that can withstand the rigors of the kitchen. Semi-gloss or satin finishes are popular choices as they are easy to clean and resist moisture.
Use Quality Brushes or Rollers
Invest in high-quality brushes or foam rollers designed for painting cabinets. These tools help you achieve a smooth and even application of paint.
Apply Thin, Even Coats
Start with a thin coat of paint, working from the inside out. Apply the paint with long, smooth strokes, following the wood grain. Let each coat dry completely before applying the next one.
Sand Between Coats (Optional)
For an ultra-smooth finish, you can lightly sand between coats with a fine-grit sandpaper. Be sure to remove any sanding dust before applying the next coat of paint.
Reassembling Your Cabinets
Once the paint has dried and you’re satisfied with the finish, it’s time to put everything back together.
Reattach Hardware
Carefully reattach the cabinet hardware to their labeled locations. Make sure they are securely fastened.
Rehang Cabinet Doors
Hang the cabinet doors back in their original positions. Check that they open and close smoothly.
Final Touches
Complete your cabinet painting project with some final touches.
Clean and Maintain
Regularly clean your newly painted cabinets with a mild detergent and a soft cloth. This will help preserve the finish and keep your kitchen looking fresh.
14. Enjoy Your Refreshed Kitchen
Step back and admire your work. Painting kitchen cabinets can be a rewarding project that breathes new life into your kitchen without a complete remodel.
Conclusion
Painting kitchen cabinets can be a cost-effective way to update your kitchen’s look and feel. With proper preparation, the right materials, and attention to detail, you can achieve professional-looking results. Whether you’re going for a classic white or a bold color, the key is patience and a steady hand. So roll up your sleeves and get ready to transform your kitchen with a fresh coat of paint.